Guide to Fix a Bicycle Puncture

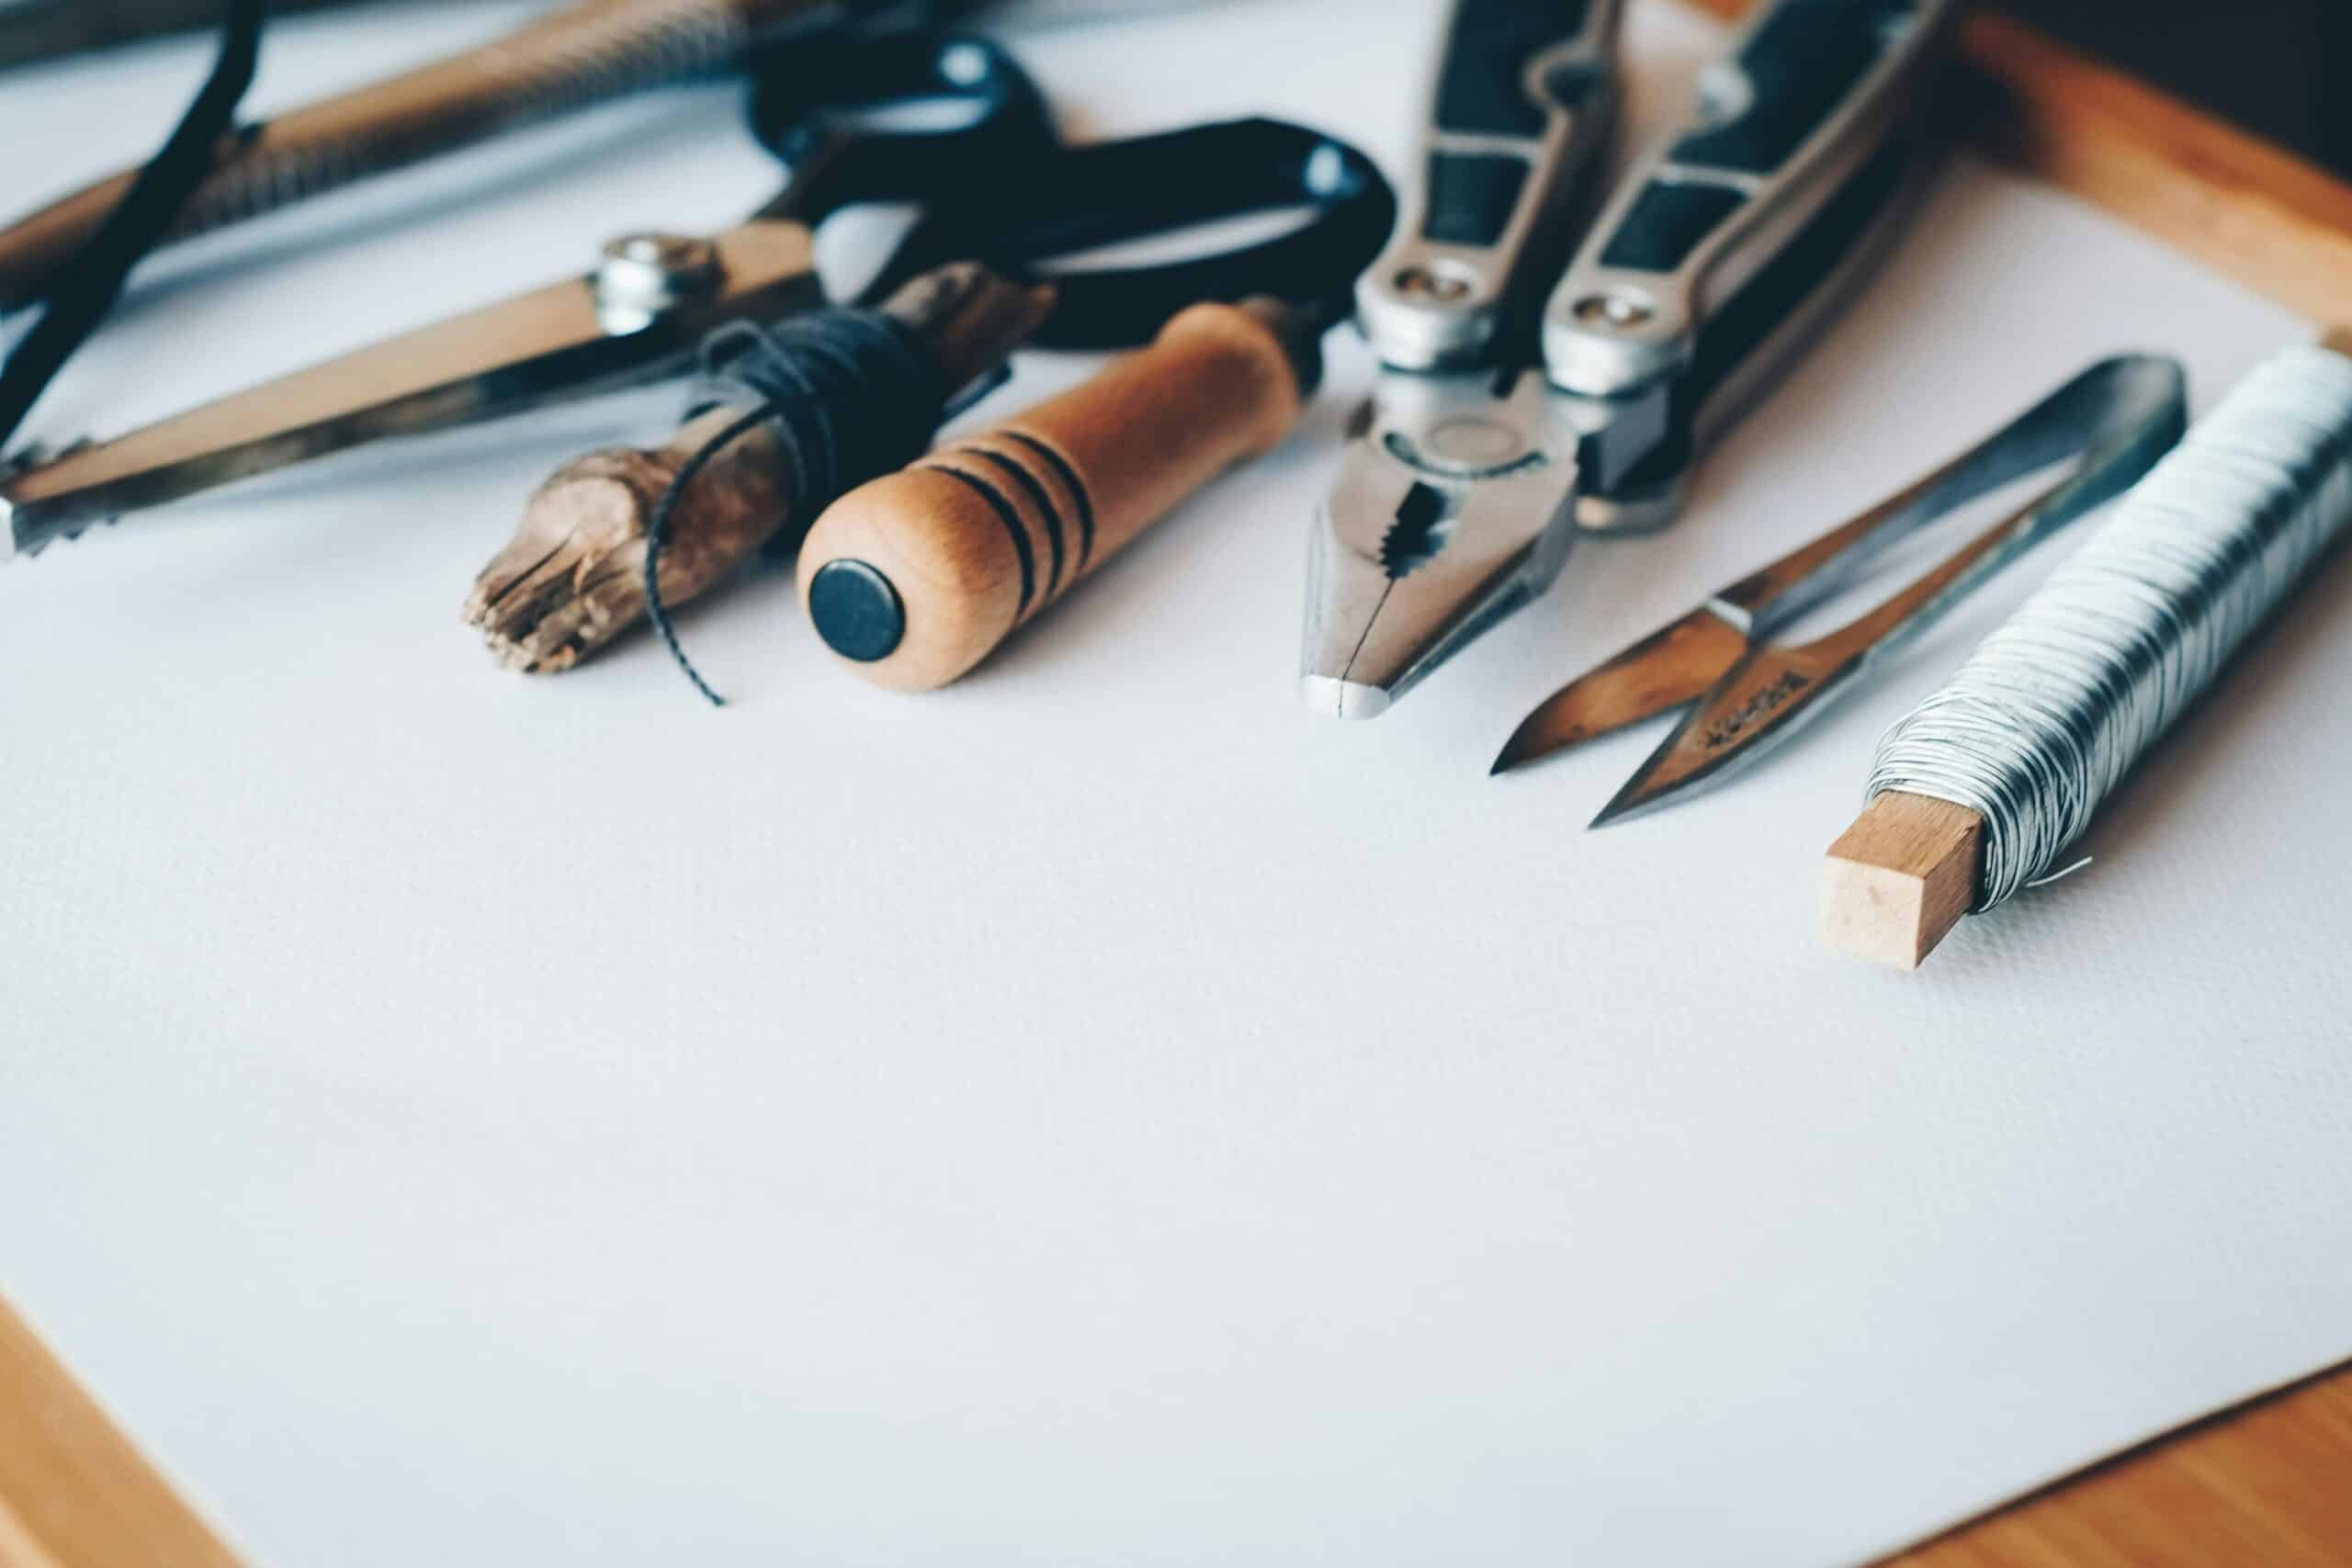
Materials Needed:
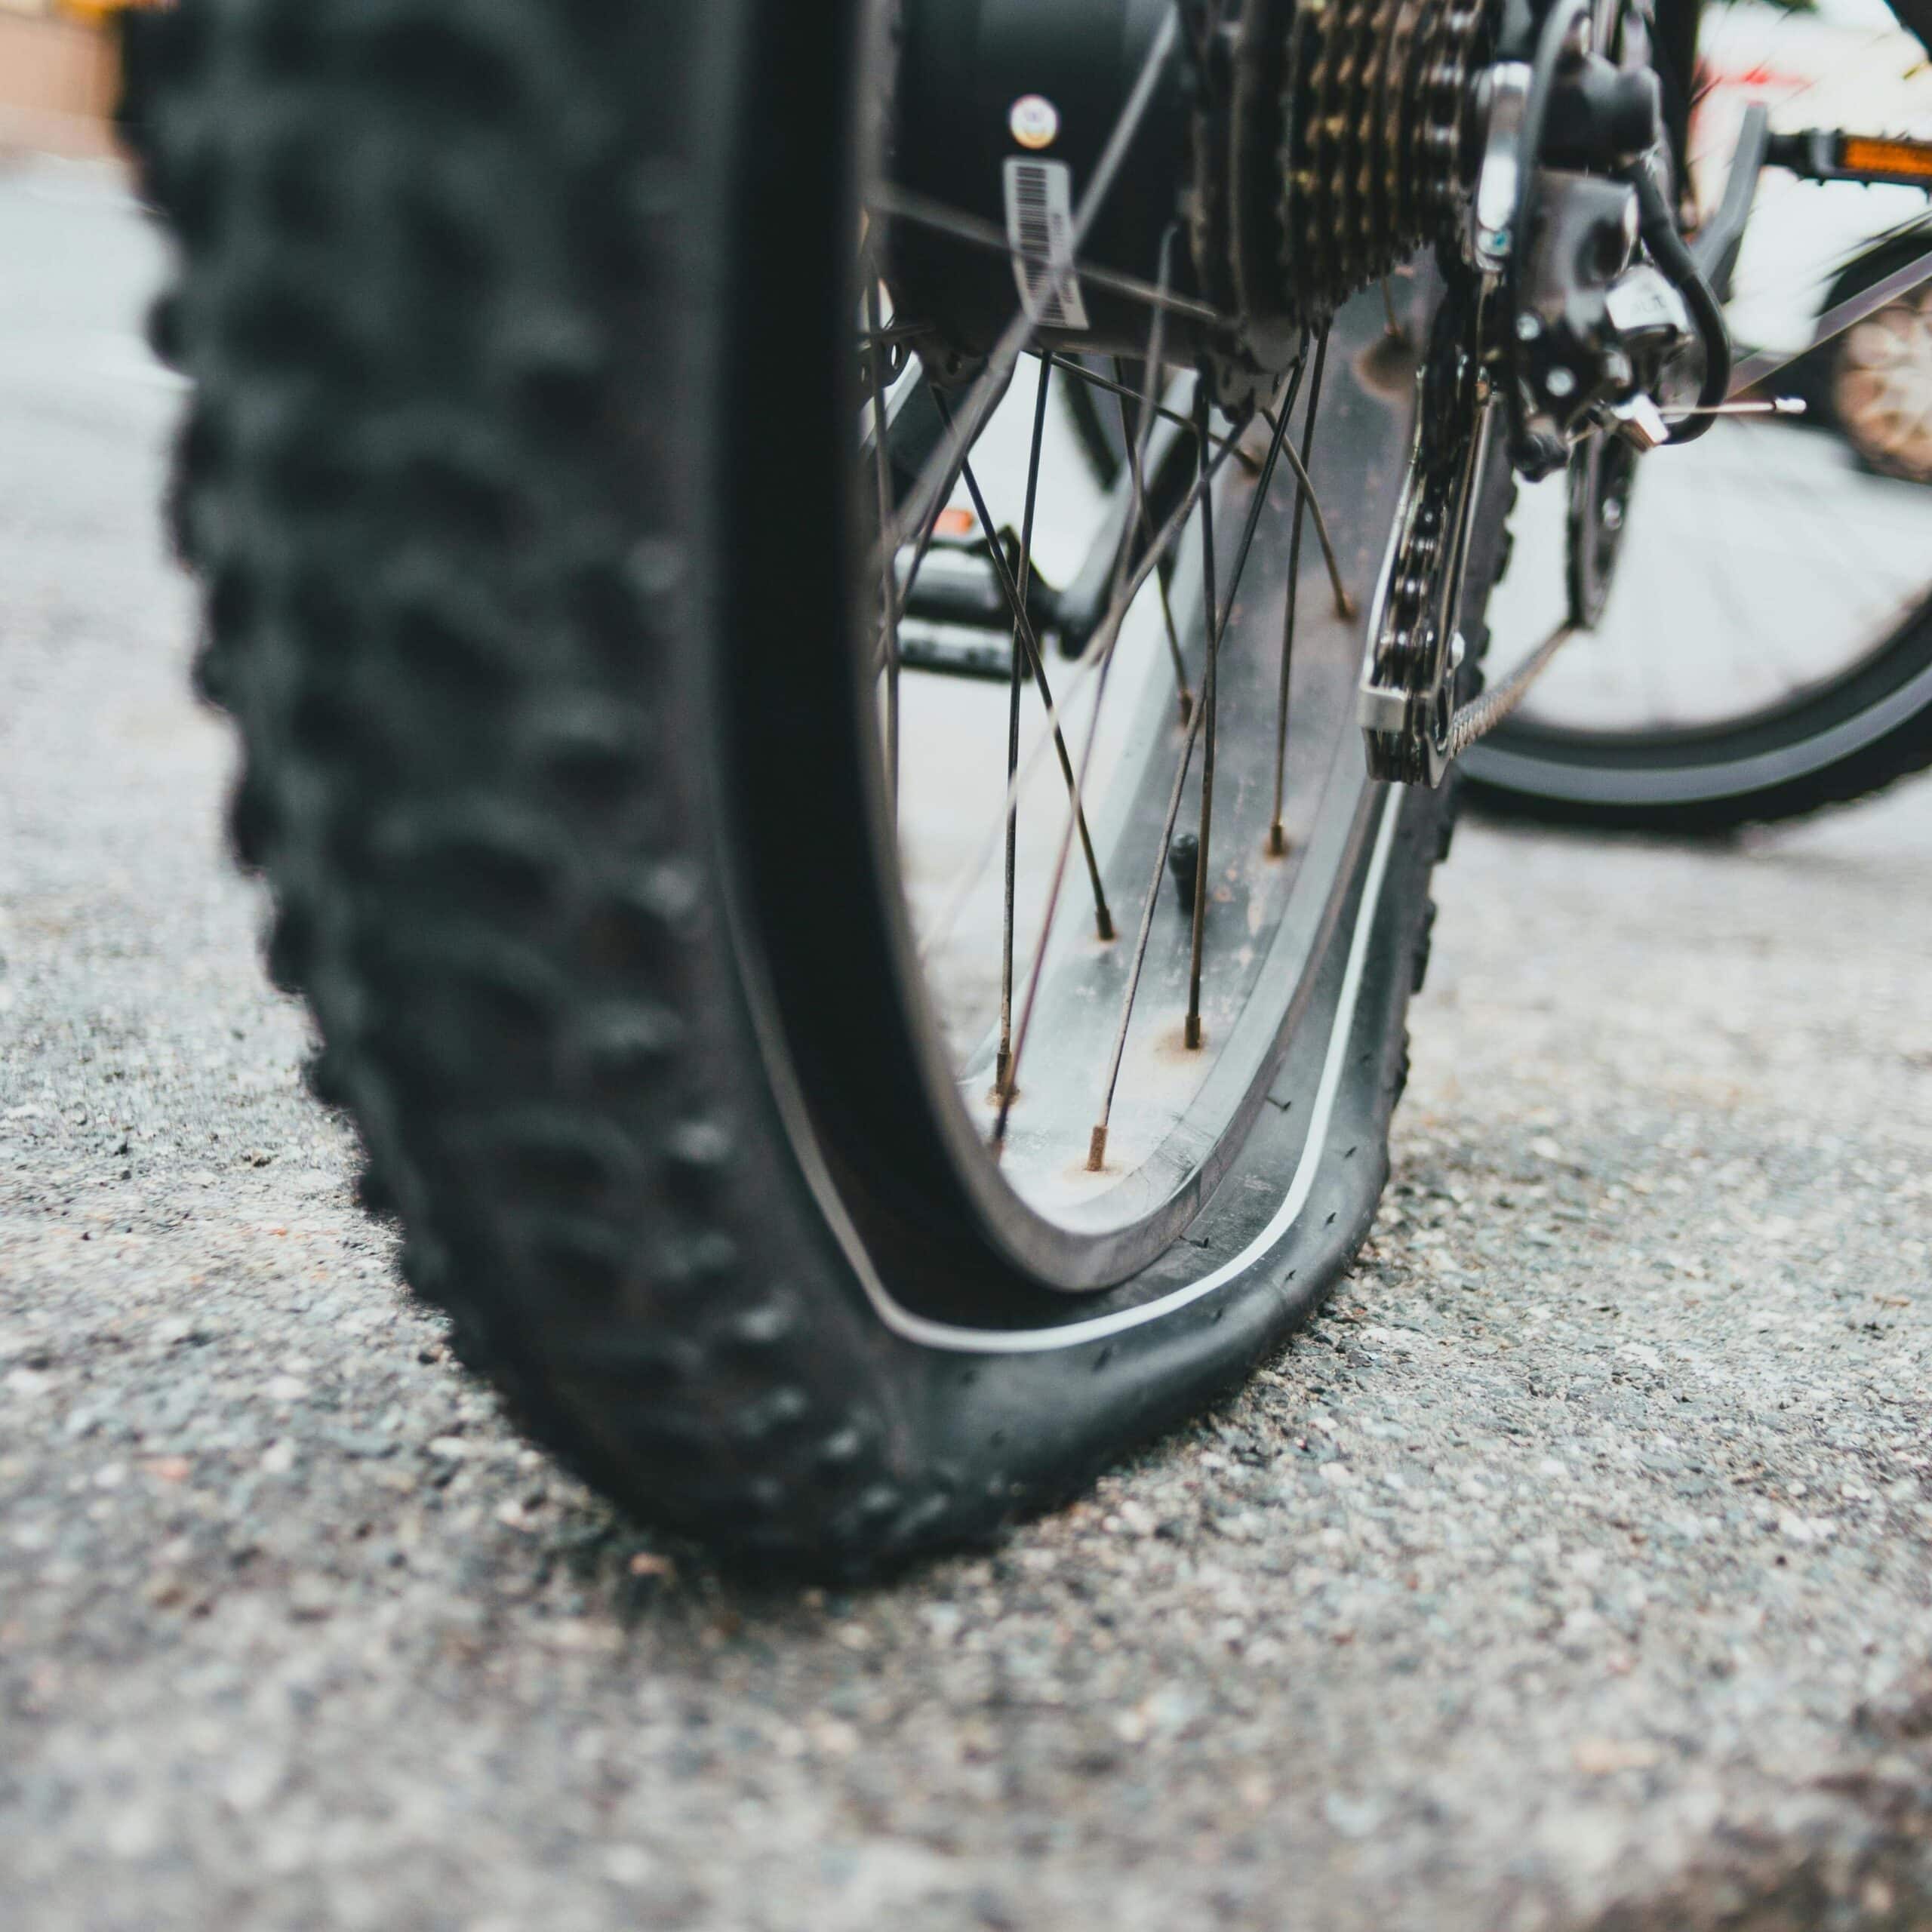
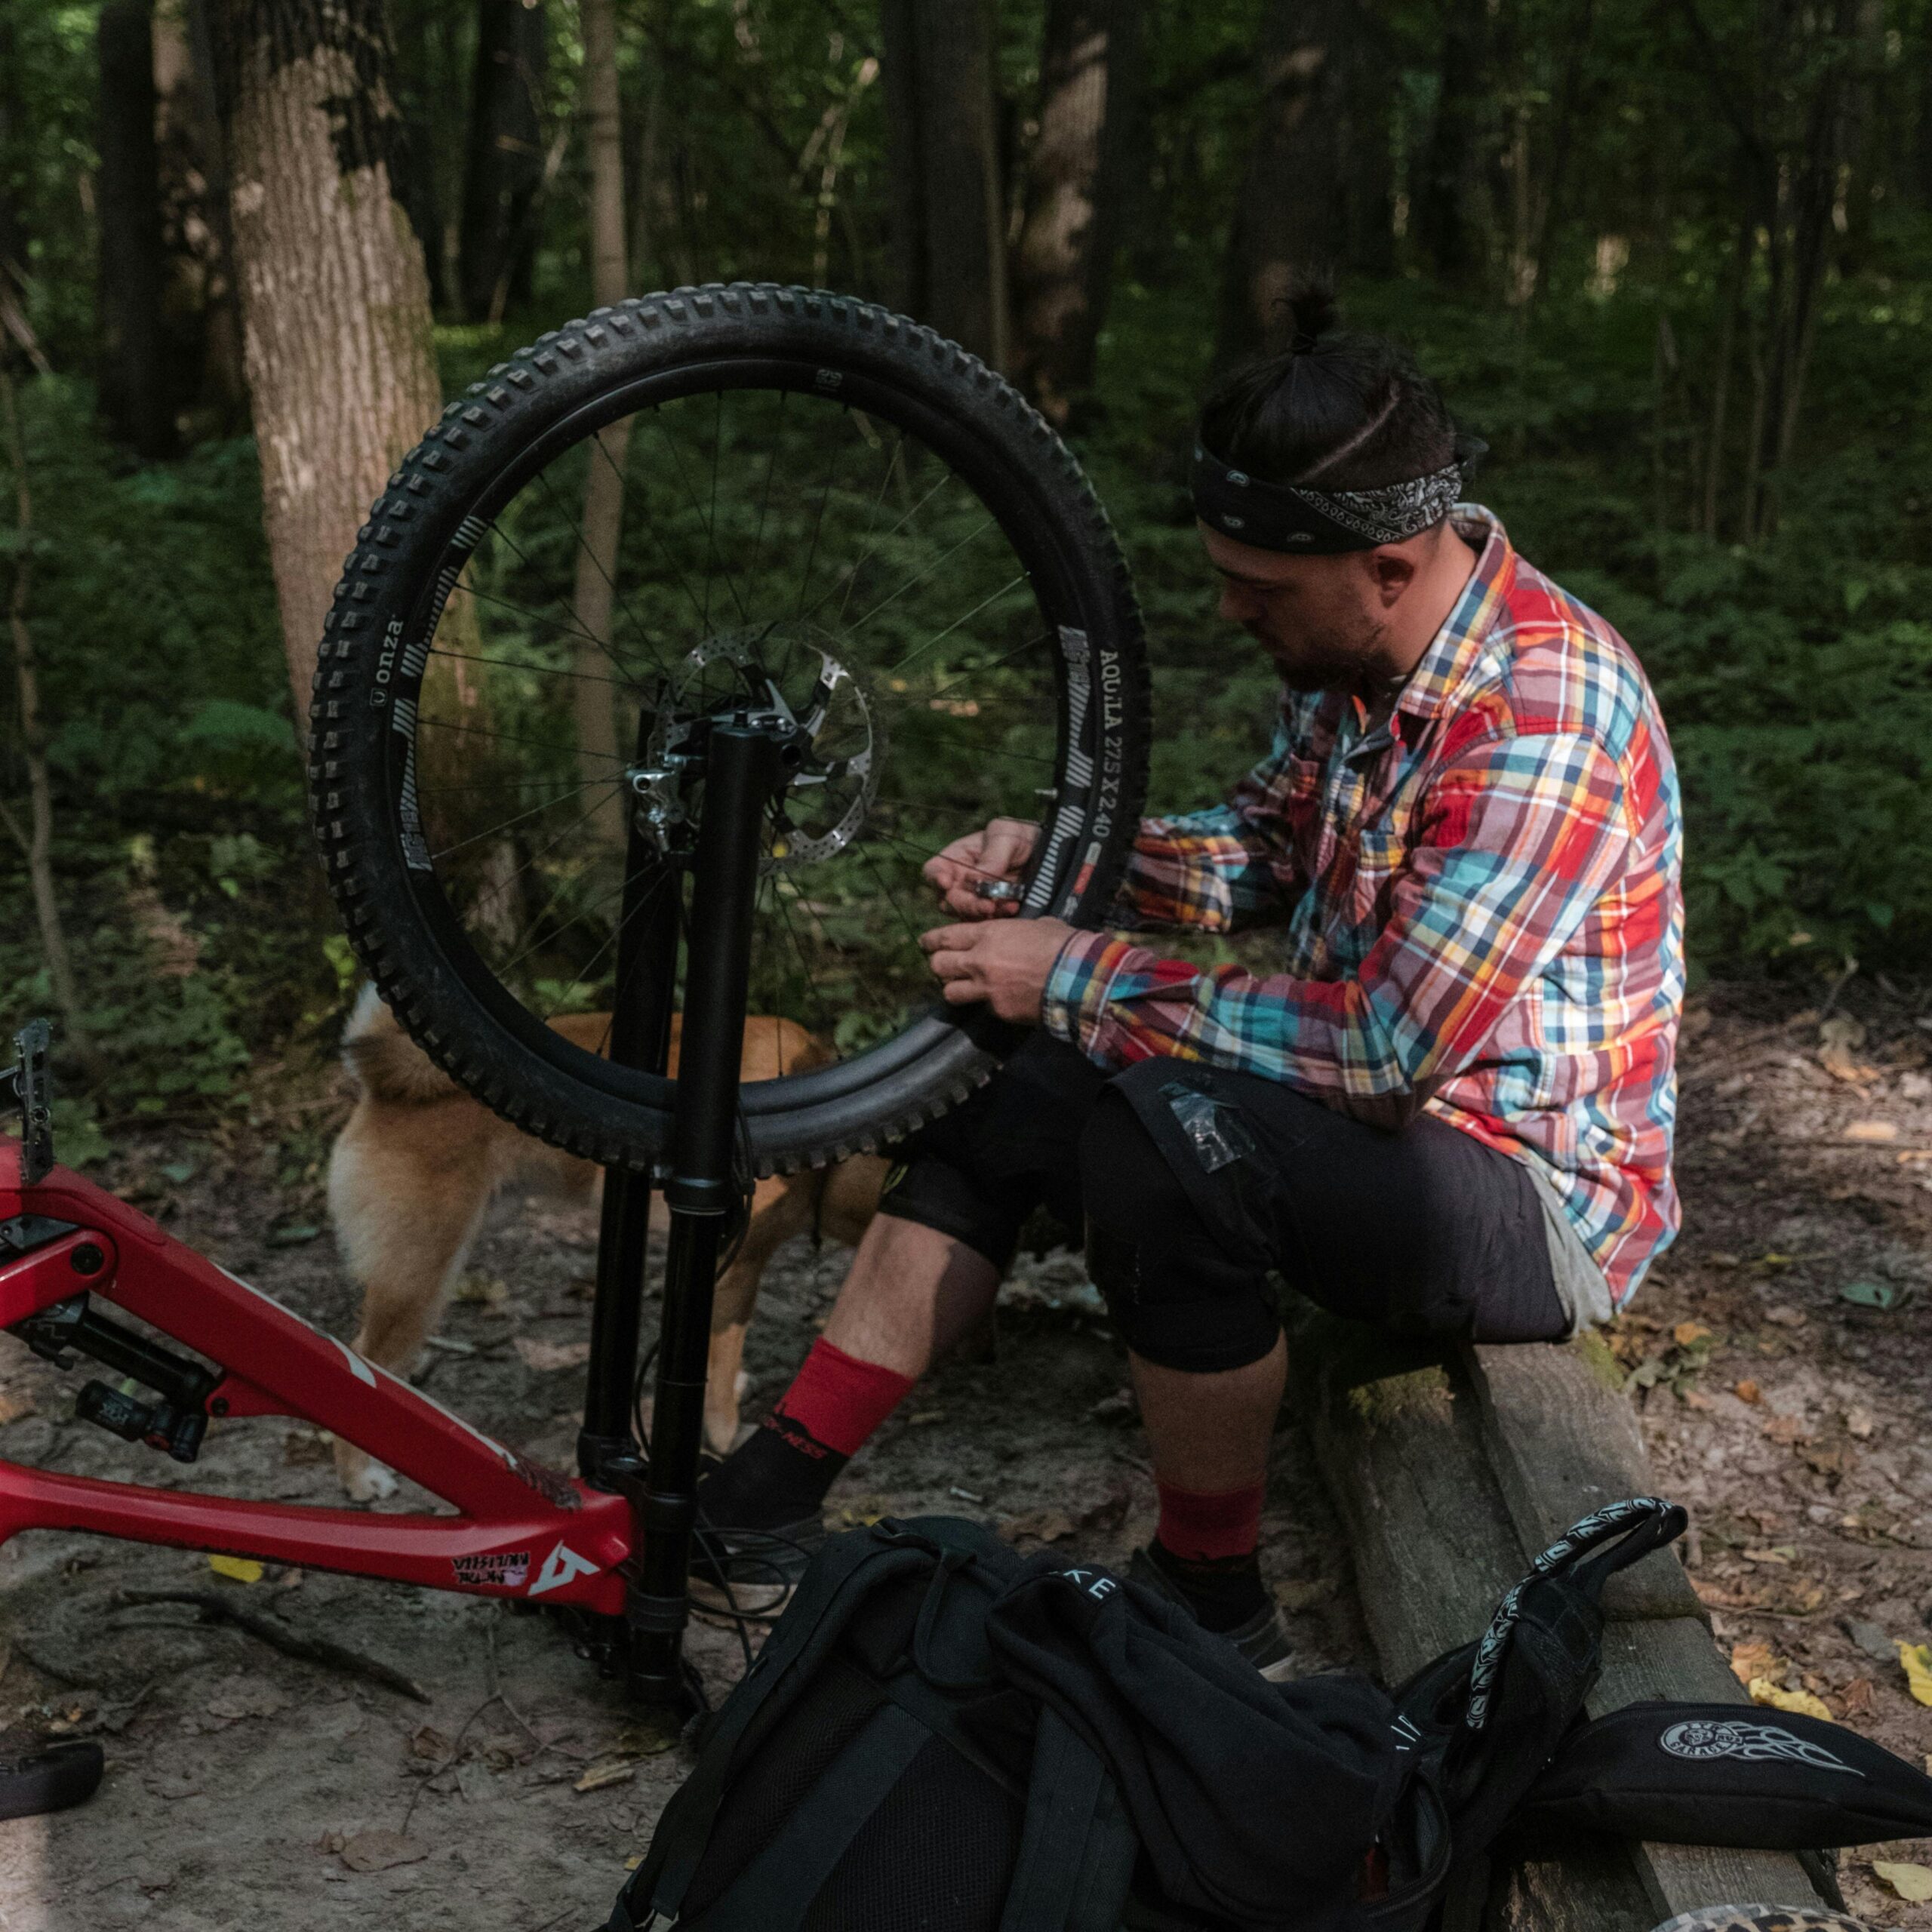
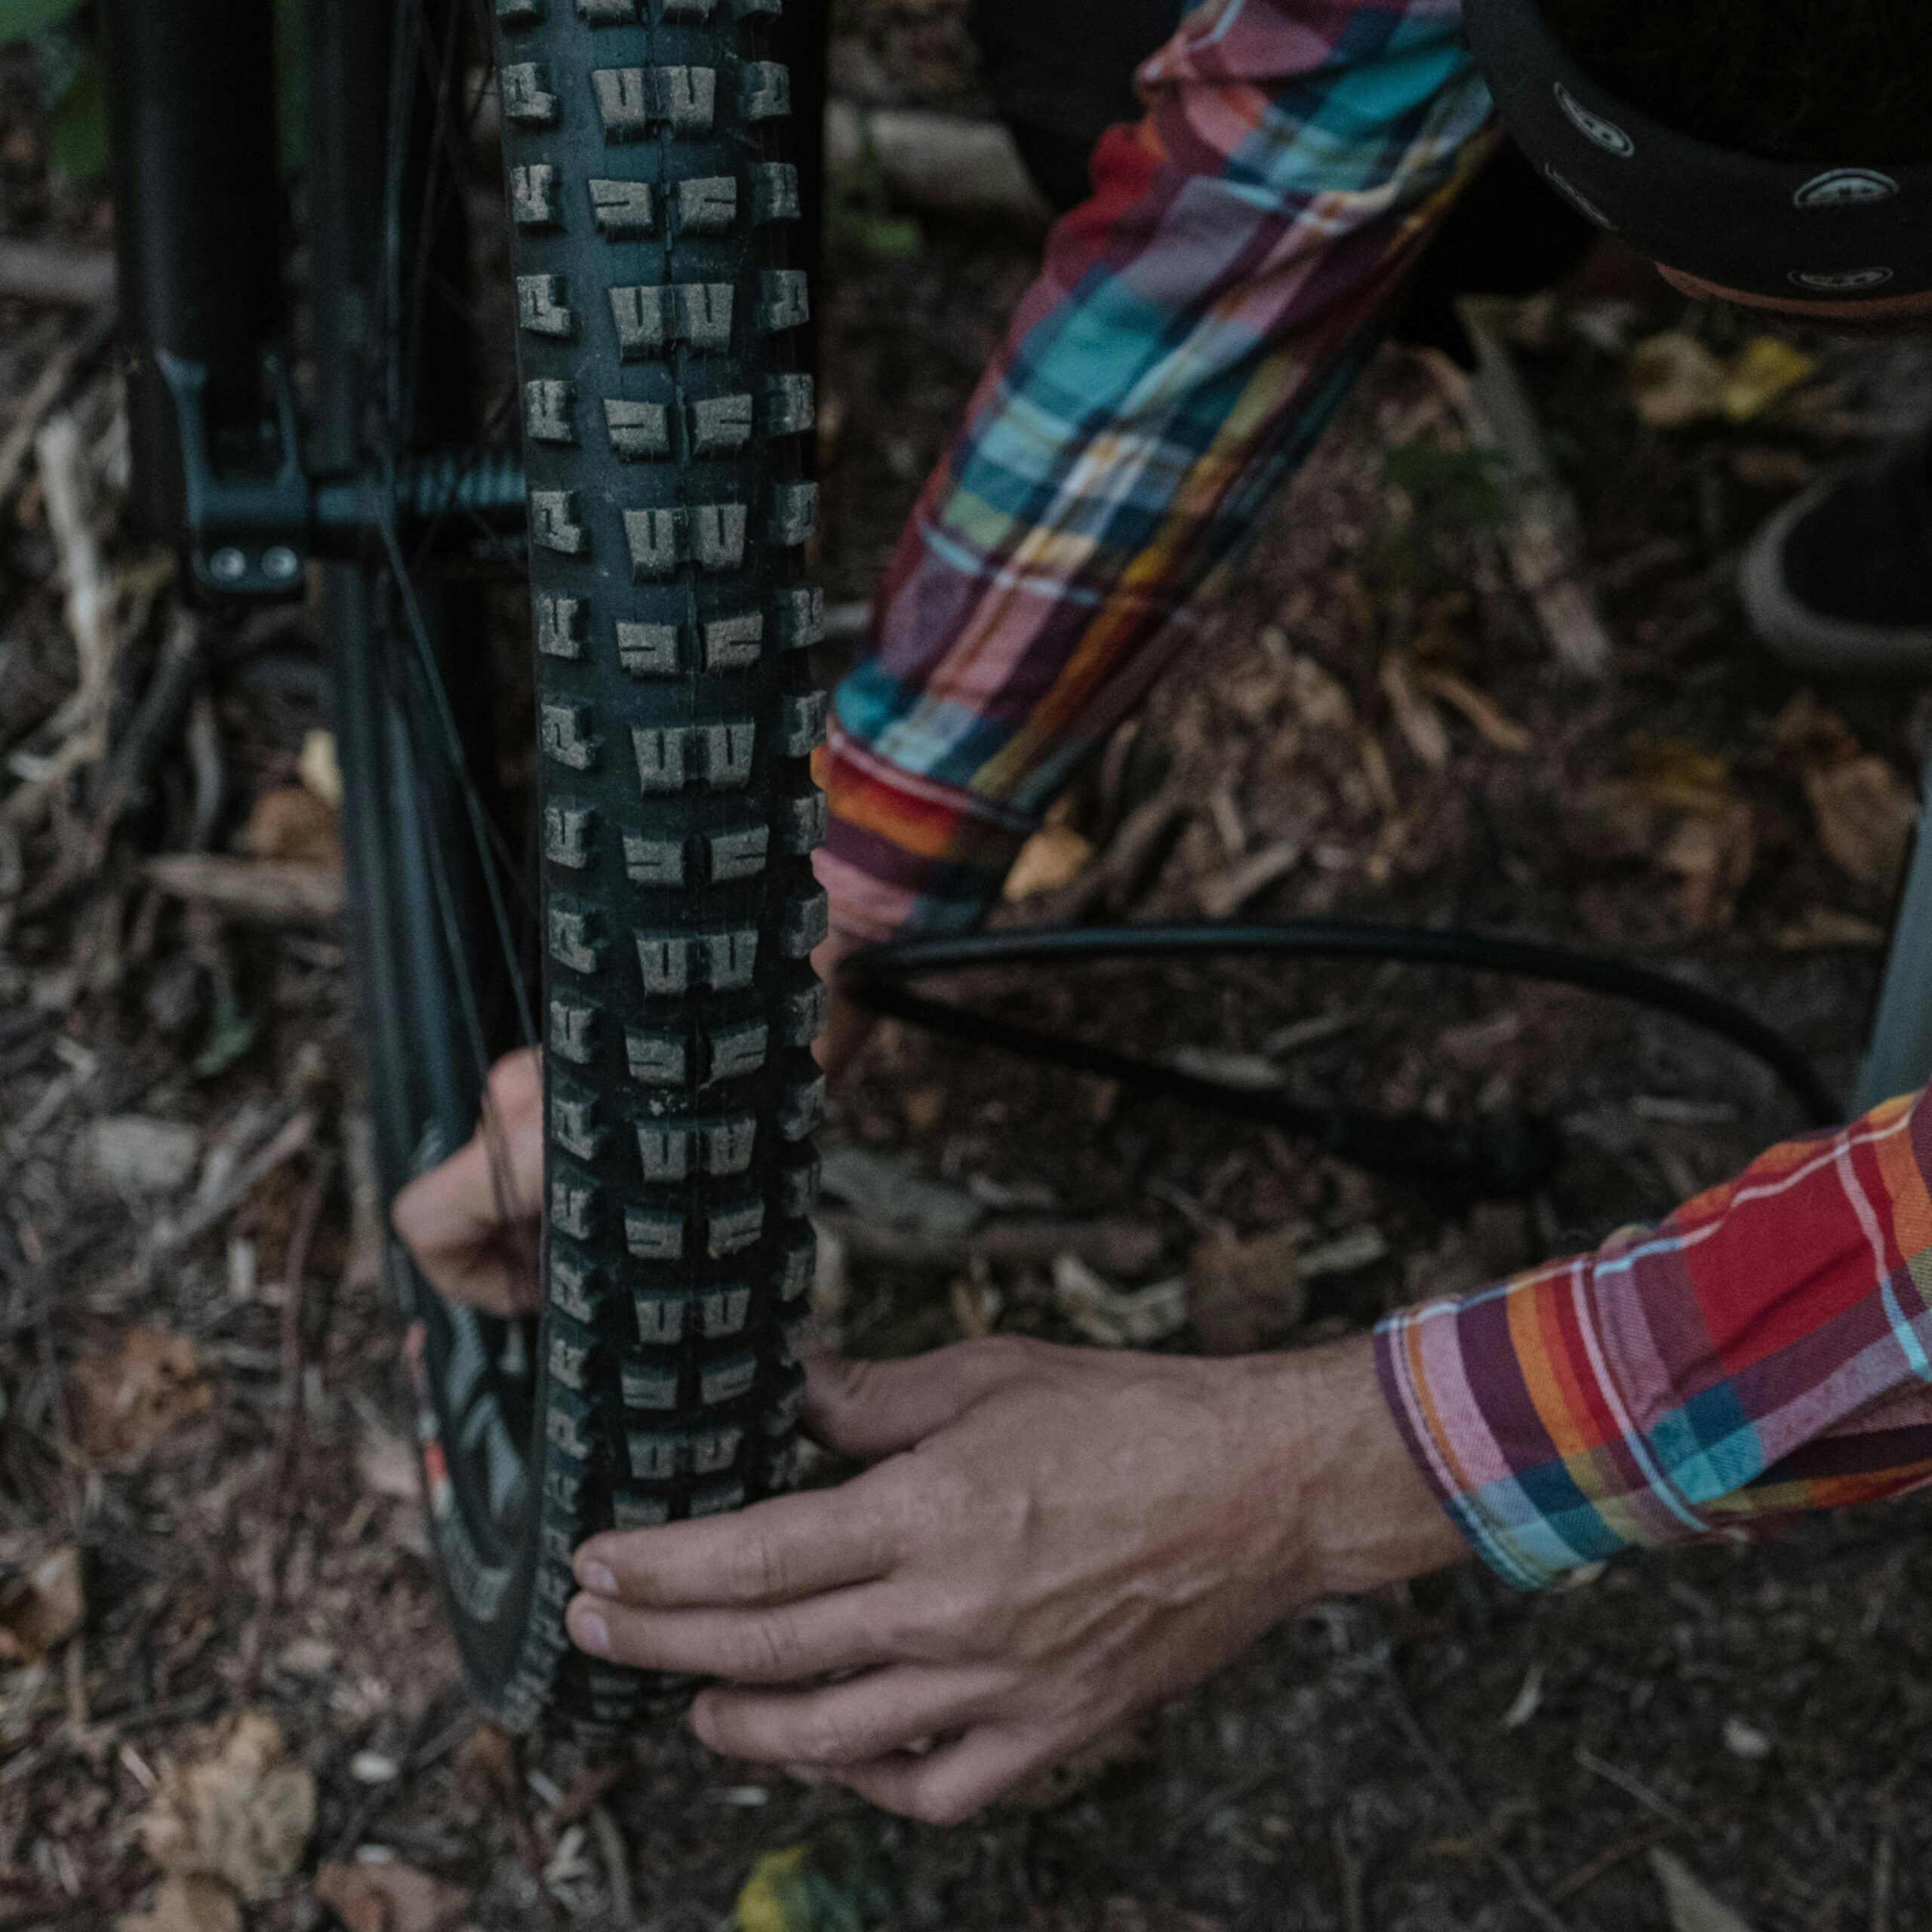
Remove the Wheel
Shift the bike to the lowest gear if it’s the rear wheel.
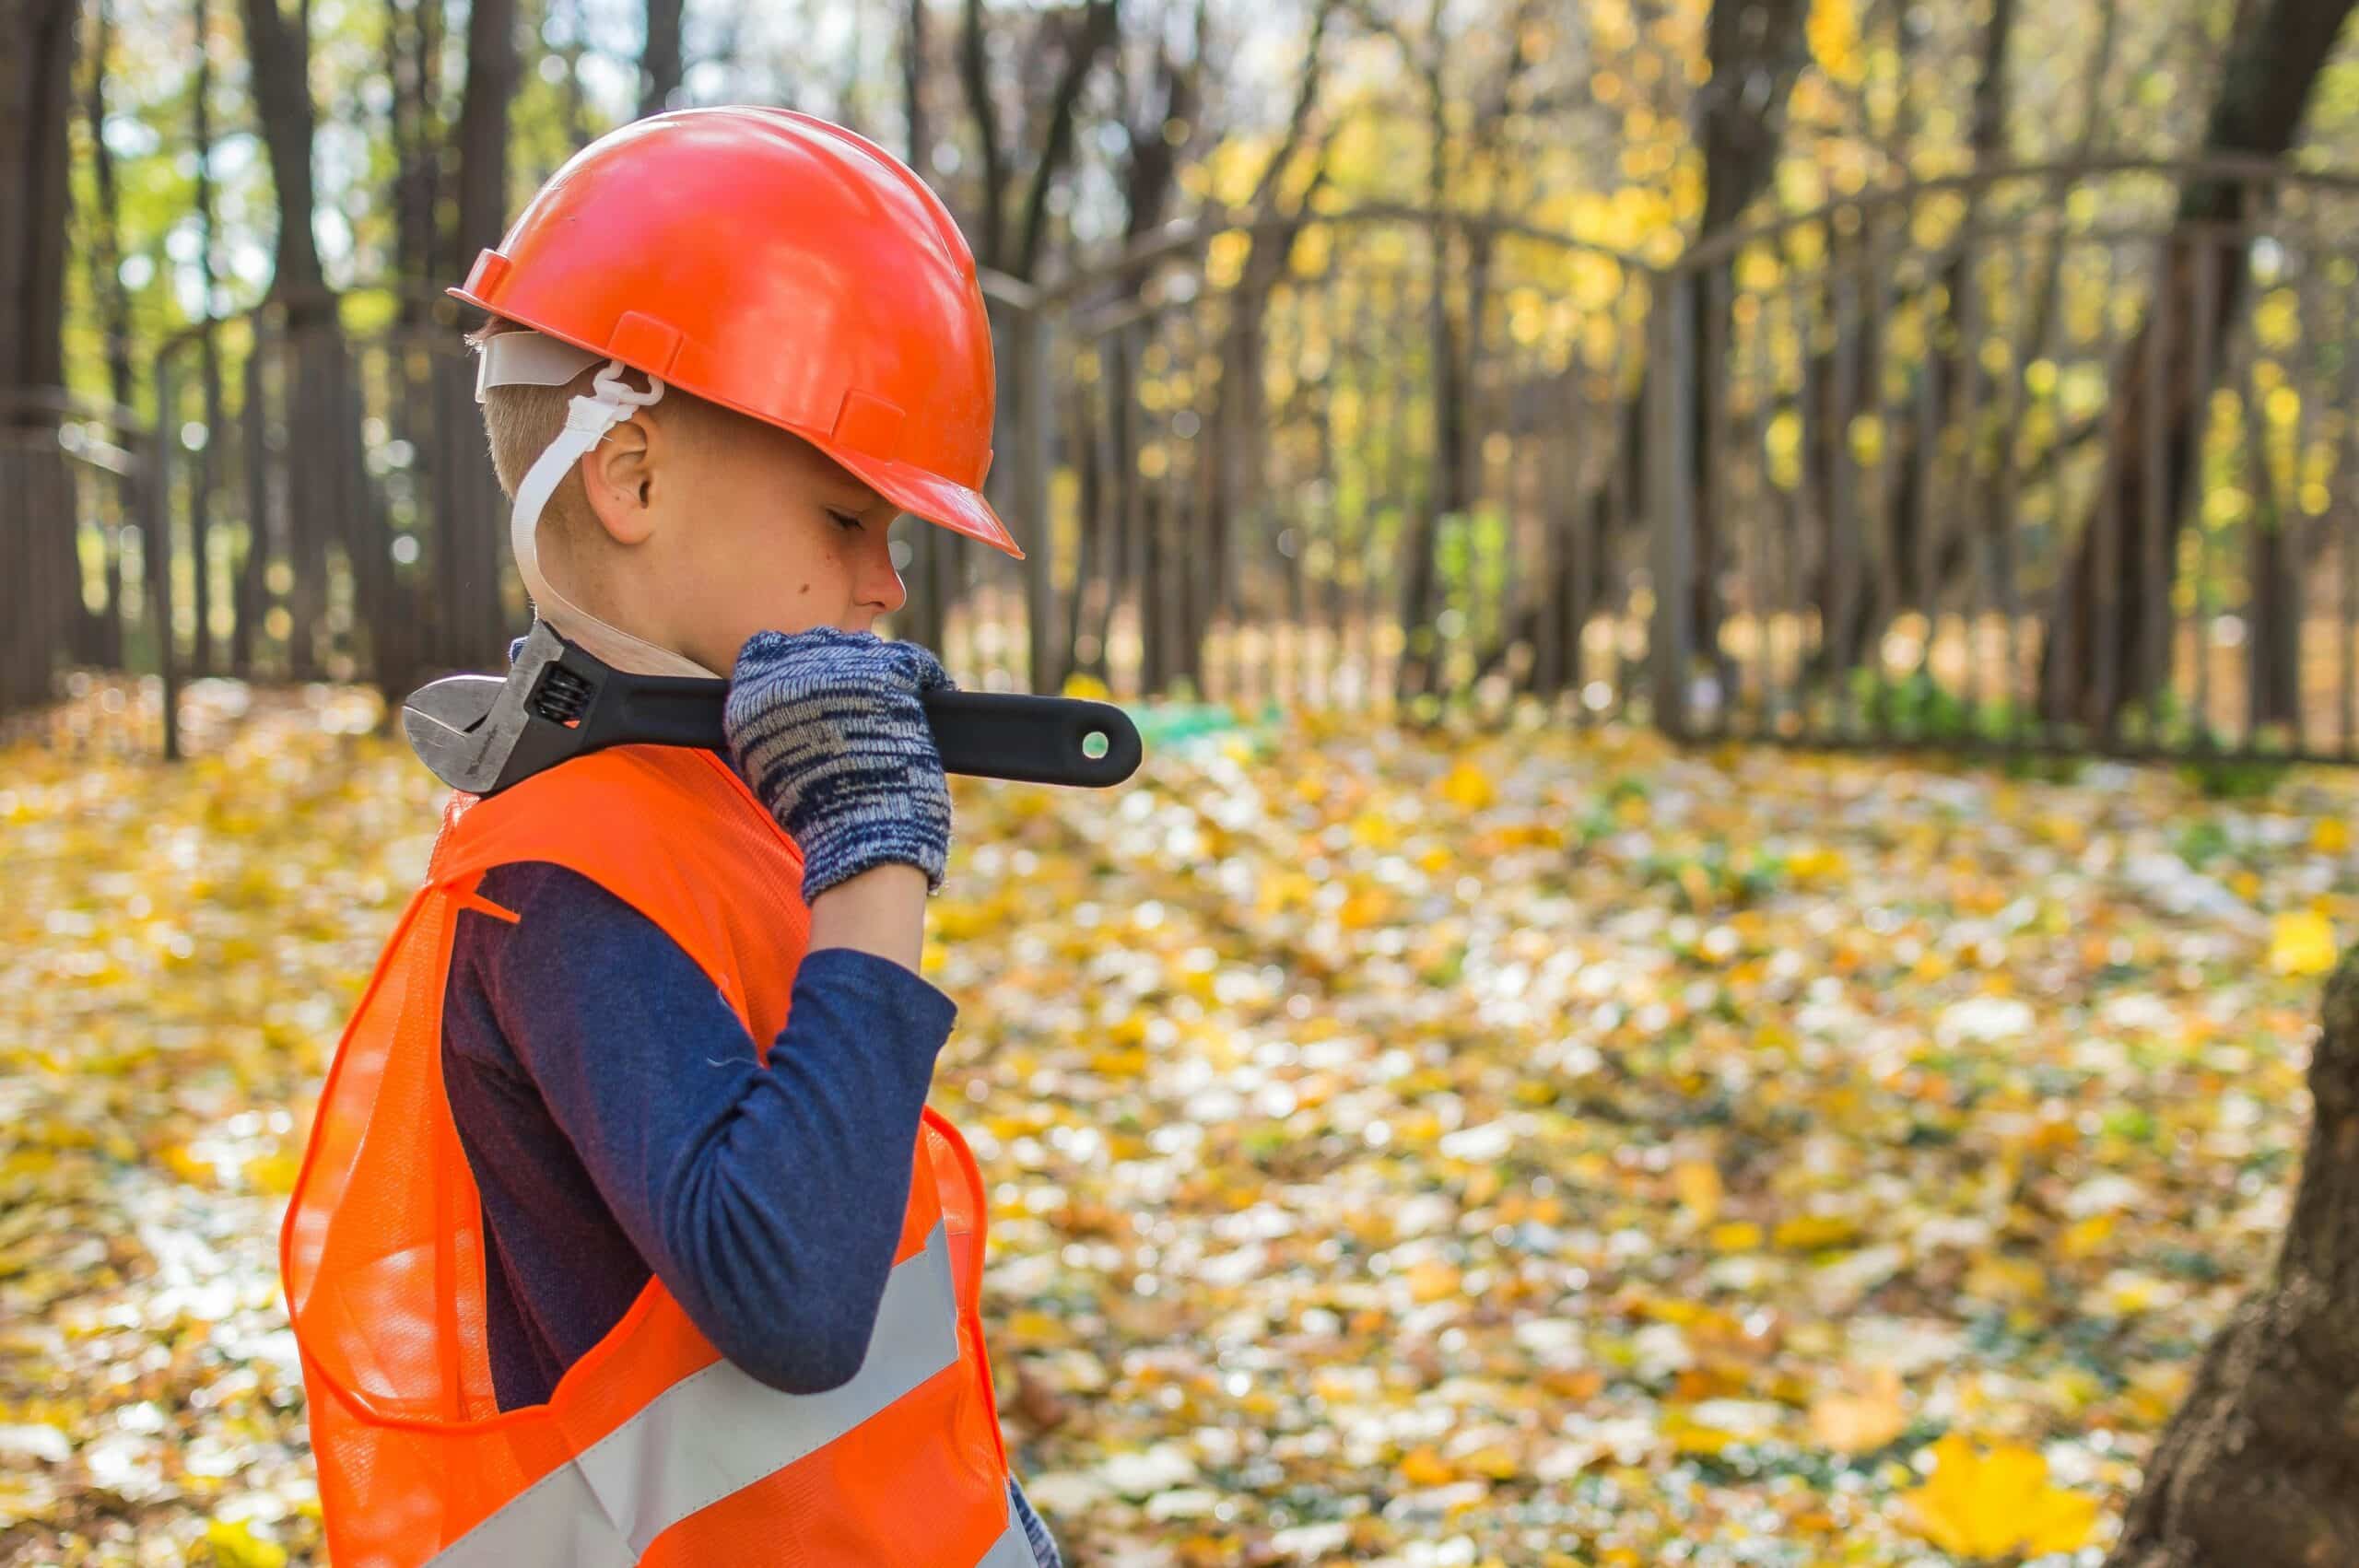
Open the quick-release lever or use a adjustable spanner to loosen the nuts on the wheel.
Carefully remove the wheel from the bike.

Deflate the Tire
If there is any air left in the tire, let it out by pressing down on the valve stem.
Remove the Tire from the Rim.
Insert a tire lever under the edge of the tire (bead) and hook it onto a spoke.
Use another tire lever to go around the tire, lifting it off the rim.

Remove the Inner Tube
Take out the inner tube, starting from the valve stem.
Be gentle to avoid tearing the tube.

Find the Puncture
Inflate the inner tube slightly and listen for a hissing sound.
If you can’t hear it, submerge the tube in a bowl of water and look for bubbles.
Mark the puncture spot with chalk or a marker.
Prepare the Area
Dry the tube if you used water.
Use the sandpaper from the patch kit to roughen the area around the puncture. This helps the patch stick better.
Apply the Patch
Apply a thin layer of glue from the patch kit to the roughened area.
Wait for the glue to become tacky (usually a minute or so).
Press the patch firmly onto the glue and hold it in place for a few minutes.
Make sure there are no air bubbles under the patch.

Reassemble the Tire
Place the inner tube back inside the tire, starting with the valve stem.
Fit the tire back onto the rim. Use the tire levers to help if necessary, but be careful not to pinch the tube.
Inflate the Tire
Use the pump to inflate the tire to the recommended pressure (check the side of the tire for the pressure range).
Make sure the tire is properly seated on the rim as you inflate.

Reattach the Wheel
Put the wheel back on the bike, making sure it’s properly aligned.
Tighten the quick-release lever or the nuts securely.
Check Your Work
Spin the wheel to make sure it’s aligned and doesn’t wobble.
Give the tire a final check for any signs of pinching or bulging.
Tips
Practice makes perfect! It might take a few tries to get the hang of it, but don’t get discouraged.
Be gentle with the tire levers and inner tube to avoid causing new punctures.
Always carry a patch kit and a pump when you go biking. You never know when you might need it!
Safety Reminder
Work in a safe, flat area away from traffic.
If you’re unsure at any step, ask an adult for help.
Happy biking and have fun fixing your puncture!
More Activities
Explore more of the CAFeteria
Take a look at all other activities available in the CAFeteria whether it’s a recipe or a craft activity we know you’ll have fun!
1 of 6
Dream Catchers
Crafting dream catchers with kids is an excellent way to combine creativity, cultural education, and fun. Here’s a step-by-step guide to creating dream catchers that are both beautiful and meaningful.
Find out more

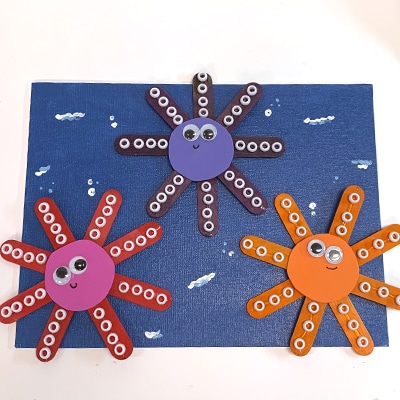
Octopus Rolls
Crafting is a fantastic way to engage children’s creativity while developing their motor skills. One delightful and straightforward project is making a craft stick octopus.
Find out more
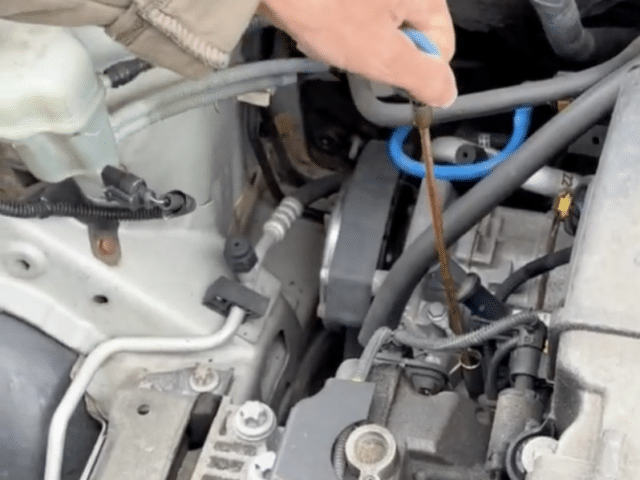
Oil Change
Maintaining your car’s engine oil is crucial for keeping your vehicle running smoothly and extending its lifespan. Find out more here!
Find out more
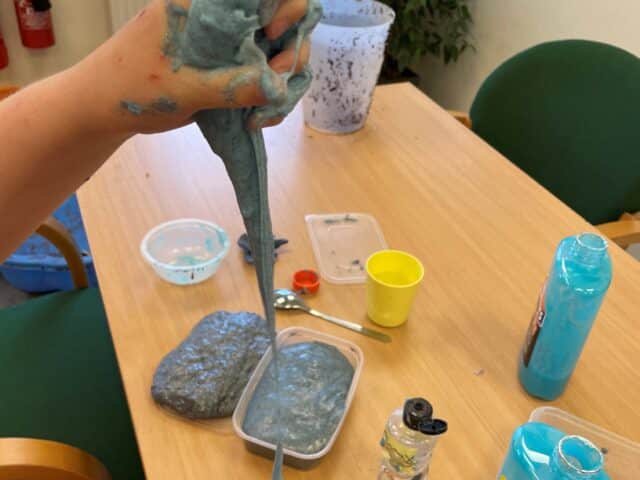
Slime Time
We all love to play with slime, ever wondered how to make it? It’s so easy.
We’ve put together a guide on how to make your very own glittery, extra slimey slime! Check it out.
Find out more
Easy Tomato Pasta
Who’s in the mood for pasta? Me! Check out our really simple tomato pasta recipe which is sure to impress the whole family.
Find out more

Drum up the Beet – Turnip the Beet project
Ready to ‘Turnip the Beet’ with our latest music project? Listen to sounds and guess the instrument and discover how sounds make music.
Find out more